Java is popular within IT industry and IT geeks as an industrial programming language. Although I’m not going to discuss about Java in this post rather I would like to point out one of the new feature in JAVA SE 8 and JDK 8, Oracle’s implementation of Java SE 8.
“Lambda Expressions”
Oracle has described this new feature as follows on their official website as
“Lambda Expressions, a new language feature, has been introduced in this release. They enable you to treat functionality as a method argument, or code as data. Lambda expressions let you express instances of single-method interfaces (referred to as functional interfaces) more compactly”
But do you know that these Lambda expressions have existed in programming paradigms other than OOP (paradigm in JAVA) before it was introduced in Java? Functional Programming, a programming paradigm which does not allow side effects (such as Deadlocks) contained these Lambda expressions. So maybe Java inherits Lambda expressions from Functional Programming ;).
OCaml is one of the popular functional programming language, which is the best suit for the newbies who comes from an OOP or imperative programming background. because OCaml is an industrial strength programming language supporting functional, imperative and object-oriented styles (So far OCaml refers to Objective Caml). but wait… OCaml is an industrial strength programming language ?. yes. Even Facebook built their own compiler for a variant of PHP called “HACK” and “FLOW” which is a similar project that provides static type checking for Javascript were inspired by OCaml. if you want more evidence click here.
Configuring an OCaml development environment in a windows environment is pretty easy as you have to click series of next buttons even without knowing what the heck is happening. but Configuring it in a Linux environment seems like some kind of difficult due to the online resources which mislead users. So after trying a couple of times , what they are doing is switch back to windows and install OCaml with OCaml-top (which is an interactive editor for OCaml). I also have done this for a couple of days and fed up because it sucks when switching back to Windows. So I have tried various ways and found a solution which makes it possible in Ubuntu Linux (hopefully in other Linux distros too).
I have tried this on Ubuntu 15.04 and may work fine in earlier releases and hopefully in later releases.
Installing OCaml
First of all, remove any kind of earlier installations of OCaml and OPAM on your machine. If you have not installed any of these earlier then skip this step. In a new terminal window run these commands,
sudo apt-get purge --auto-remove ocaml-source
sudo apt-get purge opam
Then let’s install OPAM which is a source-based package manager for OCaml and the recommended method to install the OCaml compiler and OCaml packages.
sudo add-apt-repository ppa:avsm/ppa
sudo apt-get update
sudo apt-get install opam
Ubuntu’s official repositories often lag substantially behind the latest official releases of OCaml and OPAM. More recent versions are made available by Anil Madhavapeddy in his PPAs. The first line adds Anil’s repository to your apt configuration and then update your package lists, and install OPAM and necessary dependencies including OCaml-native-compilers and camlp4-extra.
Next, run the following command to initialize the state of OPAM, which defines the OPAM root in your home folder.
opam init
It will ask “Do you want OPAM to modify ~/.profile and ~/.ocamlinit?”. say yes. trust me 😉 . while installing you might see a warning as:
[WARNING] Recommended dependencies — most packages rely on these:
– m4
This will lead to problems in subsequent steps.
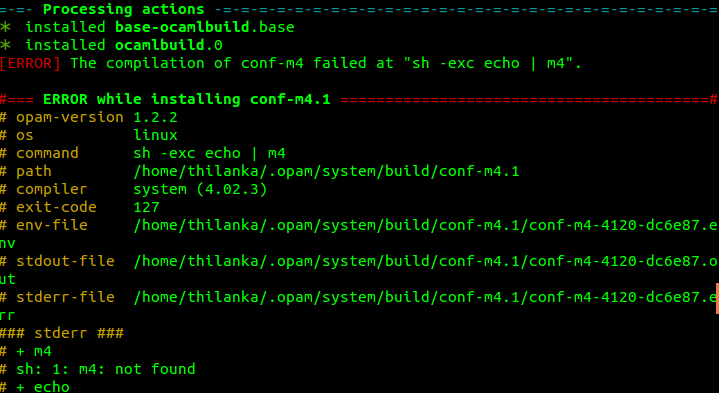
so let’s clear out it in here.
opam install depext
opam depext conf-m4.1
This will install the missing dependencies. in the middle it will ask for permission to run as root for the command ‘apt-get install -qq -yy m4’. say yes. (you are trusting me again). Then to apply the changes, in the current shell, you need to run.
eval `opam config env`
Here onwards OCaml and OPAM are installed successfully in your system. Run
ocaml
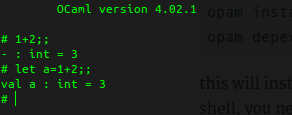
in a new terminal window and it will show you the interactive top level which comes with OCaml. You’ll quickly notice that the user experience is not ideal, as there is no editing support: you cannot conveniently change what you type nor can you rewind to previously typed phrases. So any alternatives? yes. [20th-century fox music playing…]. ladies and gentlemen, please welcome “UTop“.
NOTE: as OCaml is coming with OPAM, there is no need to instal OCaml through sudo apt-get command separately.
Installing UTop
UTop is a shiny frontend to the OCaml interactive top level, which tries to focus on the user experience and features:
- interactive line editing
- real-time tab completion of functions and values
- syntax highlighting
To install UTop,
opam install utop
In any case, if the problem with the -m4 dependency happens again in here just run the two commands which I mentioned in earlier steps. and execute ‘opam install utop’ again. Next,
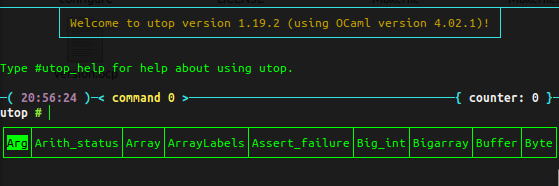
eval `opam config env`
utop
This will show the UTop in the current terminal window.
PS : in case that an error is shown “No command ‘utop‘ found” when trying to open utop in the terminal and the two commands,
eval `opam config env`
utop
are not working in Ubuntu, then try those two commands followed by,
opam init
Installing OCaml-top
There is another interactive editor for OCaml called “OCaml-top” which is designed for beginners and students, specially tailored for exercises, practicals and simple projects.
To install OCaml-top in ubuntu,
sudo apt-get install libgtksourceview2.0-dev
opam init default 4.01.0+ocp-bin
opam switch
eval `opam config env`
opam install ocaml-top
You can get to know the OCaml version by
ocaml -version
and replace the result with “” in the third command.
opam switch command will compile OCaml version you installed and install it in a location managed by OPAM.
then type,
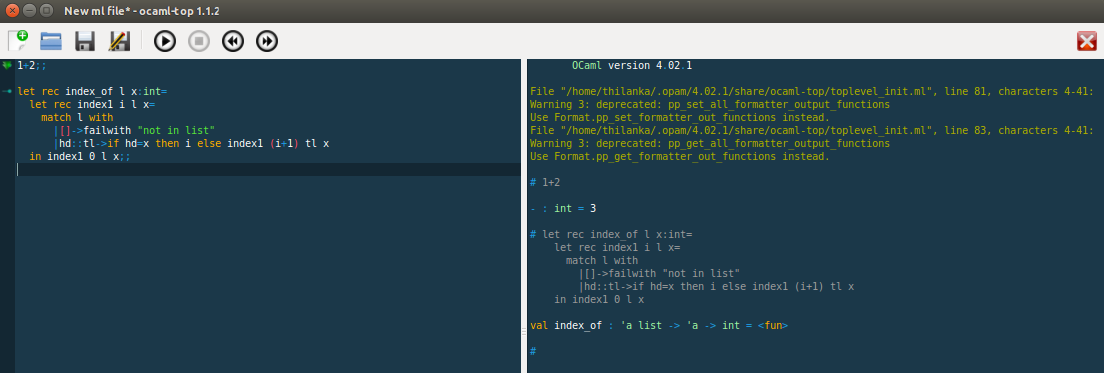
ocaml-top
to launch OCaml-top GUI.
PS: in case if you got an error saying “command not found” when trying to launch OCaml-top in the terminal, then you can follow the same steps which I mentioned earlier in the installing utop section. Anyway I repeat the steps in here again.
opam init
eval `opam config env`
ocaml-top
The ocaml-top installation seems to be like remove previously installed utop from the system. so if you got the same problem and want to use utop again then you have to install utop again.
opam install utop
Here after you can use both utop and OCaml-top without any problem.
Happy functional programming with OCaml.
Let’s spread the word. share buttons are waiting for you. ↓
Are you interested in DJs? just checkout this track:

Carry on Bro.. Wish u all the best.
LikeLiked by 1 person
Thanks Bro…
LikeLike
Nice Article,
Can you help me?
Whenever I type ocaml-top in terminal, it says “command not found”.
Any solution?
LikeLike
I assume that you was able to install OCaml-top and run it at least once and you get the above error after trying it out next time.try this steps in terminal.
opam init (will ask for let OPAM to modify ~/.bash_profile and ~/.ocamlinit. say yes – y)
eval `opam config env`
ocaml-top
LikeLike
Unfortunately, ocaml-top command is still not found.
LikeLike
did you try the suggestions, I have given in the previous comment by Bryan? (copy paste and execute one by one in the terminal).
LikeLike
Your instructions are of course spotless, it was a mistake on my end. Thank you very much for the great tutorial.
LikeLike
Welcome. glad to hear you fix that.
LikeLike